 Begin with bakers potatoes.
I like 6, washed, seasoned, NO TIN FOIL because I enjoy a crispy shell for the next stage.
Put in the oven for 55 minutes @ 375 until completely cooked through.
Once cooked, remove from the oven and let rest for 2.5 minutes.
 This is why I like the crispy skin.
Halve the potatoes. Rest again for 2 minutes to allow the steam to dissipate (creating less gluten later on). Using a spoon, dig out all the potato making sure to omit the skin. Place the harvested spud into a ricer and rice the dickens out of it.
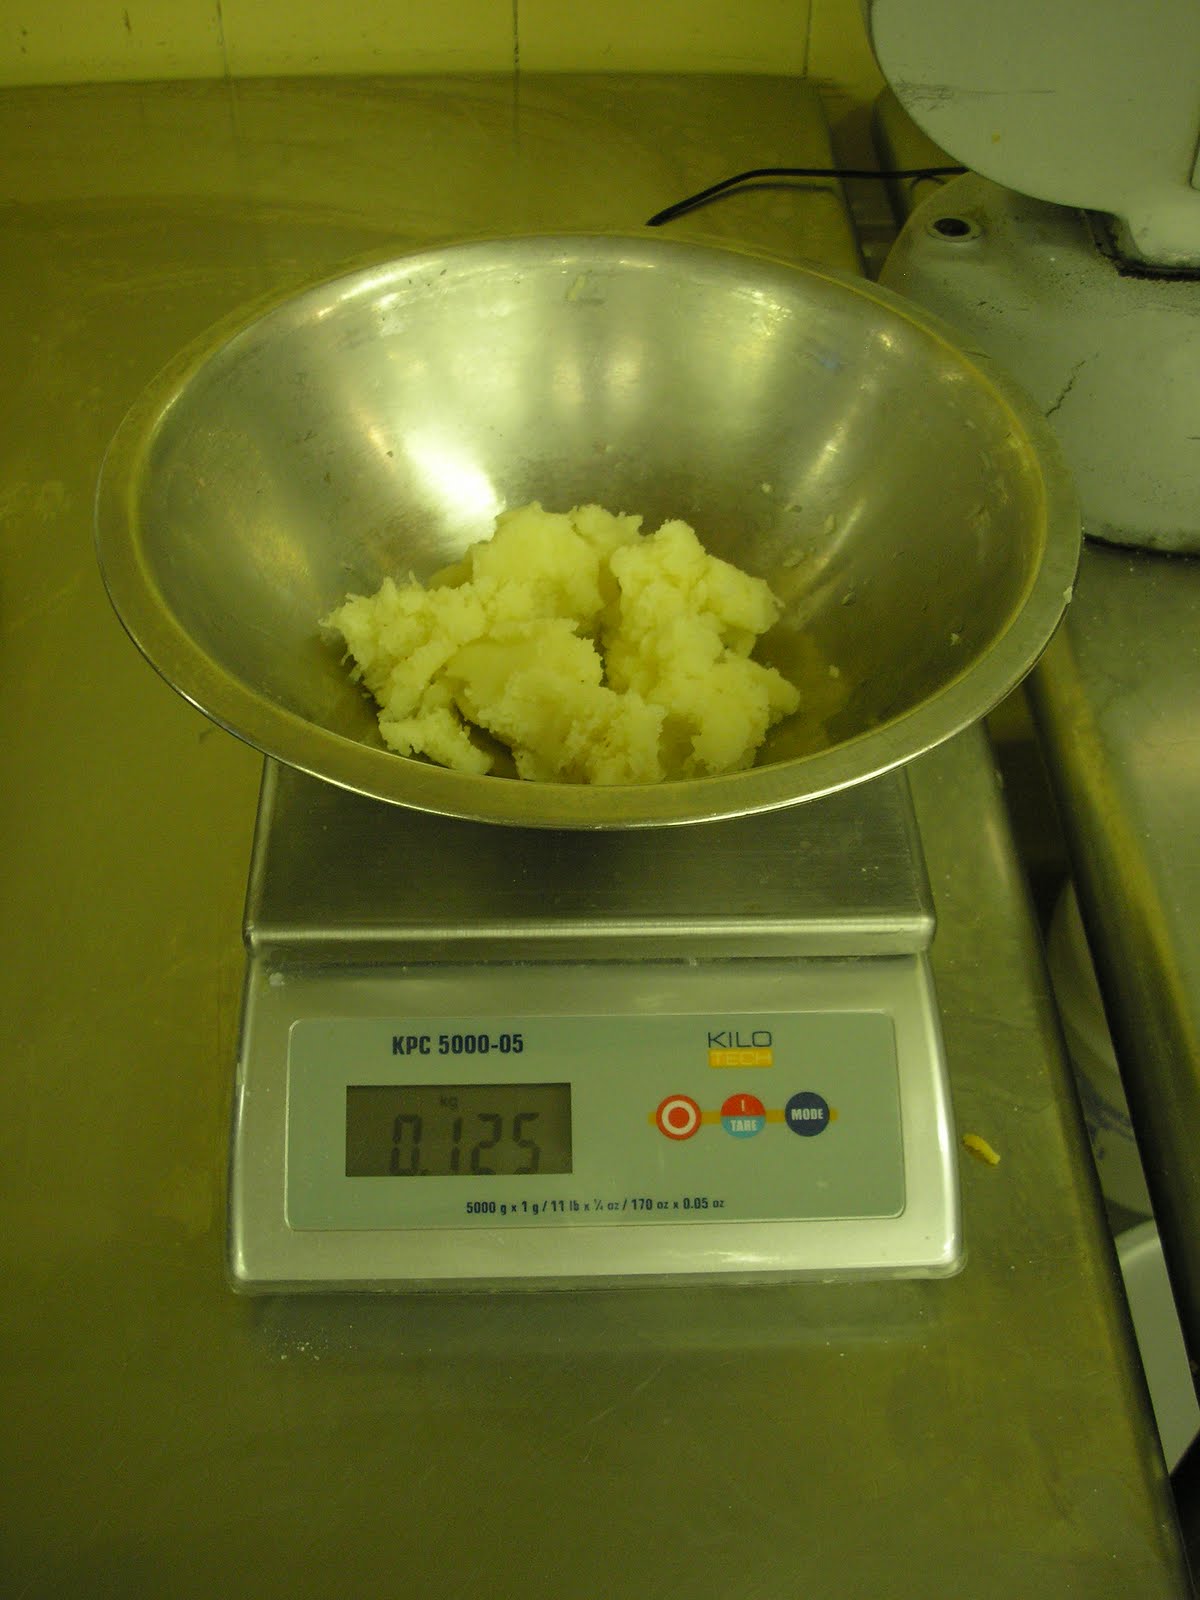
 One of the very few times I will actually measure ingredients in a savoury kitchen.
Tare the scale to include a bowl. Add the potato.
Here it weighs 125gr. The ratio to A.P. flour is 3:1 (P to A.P.).
So therefore...
 Da dada DAAAHHH!
The total weight of both is 166g!
 This is a pic of me mixing it all together.
 Like this. Moist enough that it collected all the flour in the bowl, but dry enough that I can touch it without it sticking to me.
 Rolling the dough out.
 Note the even rolliness and shape and awesomeness. Still brings tears to my eyes.
 Cutting the gnocchi.
 Gnocchi before blanching.
 One of the very few times I will actually measure ingredients in a savoury kitchen.
Tare the scale to include a bowl. Add the potato.
Here it weighs 125gr. The ratio to A.P. flour is 3:1 (P to A.P.).
So therefore...
 Da dada DAAAHHH!
The total weight of both is 166g!
 This is a pic of me mixing it all together.
Actually, we are moving ahead too fast here.
First, after properly measuring, you need to add egg. This is why I prefer to use 6 average potatoes, because typically it yields 750g. and will feed 6 people comfortably.
750g. of potato (or 1kg with A.P. Flour) is PERFECT for 1 large egg. Anything over 950g., and you have to play around for the right texture.
So, in the bowl, add the egg, kosher salt to taste, a pinch of grated nutmeg (I like a fair bit for layered flavours), and parmesan-reggiano (I use a small handful).
Mixing;
Mix with confidence and do it fast. Stop just when you have a completely binded dough. Do NOT over mix or the texture will suck and you might as well get someone to actually hold your hand as you try this.
 Like this. Moist enough that it collected all the flour in the bowl, but dry enough that I can touch it without it sticking to me.
 Rolling the dough out.
I gently flour a cutting board for each roll.
I like a diameter roll of about 3/4 of an inch. I like gnocchi big and hearty.
Roll in moderation for the most consistent results.
 Note the even rolliness and shape and awesomeness. Still brings tears to my eyes.
 Cutting the gnocchi.
A) I use the heel of my sharp mac, because it makes the cleanest cut.
B) I put the end tips back into the original dough, otherwise they will look different.
C) After cutting, I place the gnocchi onto saran wrapped, floured hotel pans as a reserve before blanching.
D) The first cut gnocchi goes immediately into the salted boiling blanching pot to taste test. Season accordingly here if you need to.
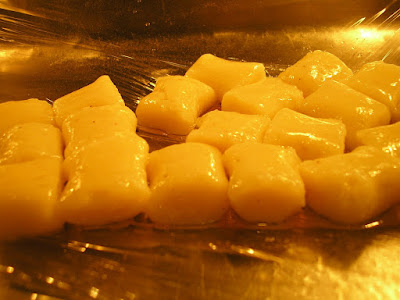
 Gnocchi before blanching.
Note the smooth texture of the surface. If this was too dry, it would show cracks and grooves. Too wet, and it would almost appear half melted and have a "soaked finger" look to it.
 Mark Anins blanching the gnocchi.
 Mark Anins blanching the gnocchi.
Make the effort to ensure that the blanching water is salted and at a hard boil by the time you are ready to blanch. It is important to give gnocchi the fastest blanch time possible for texture purposes.
 45 seconds later.
 45 seconds later.
It's easy to tell when the gnocchi is finished as it rises to the surface.
 Right away shock the pasta in a salted ice bath.
 Right away shock the pasta in a salted ice bath.
A fun fast tip; the gnocchi will sink to the bottom. Use a slotted spoon to remove the ice first before straining out the gnocchi. Trust me, you save 5 minutes here.
 To hold, roll the gnocchi in the best olive oil your chef will buy and reserve in one layer on saran.
 The end result.
 To hold, roll the gnocchi in the best olive oil your chef will buy and reserve in one layer on saran.
 The end result.
Remember a little bit of gnocchi goes a long way.
I love gnocchi. First time I had it I was 20 and close to Pompeii, Italy. I still remember being shocked at how filling it was.
I love gnocchi. First time I had it I was 20 and close to Pompeii, Italy. I still remember being shocked at how filling it was.
I have a ricer at home from the late 1950s and I really feel a sense of authenticity every time I bust it out to make gnocchi.
I have found a new purpose for this blog; not just to showcase what is new, but also to document what I think is best. In this way, the site becomes a reference to look up how something was prepared in the past.
No comments:
Post a Comment